Installing fonts on your Windows computer can significantly enhance your design projects, documents, and presentations. This guide provides step-by-step instructions on how to install fonts, whether you’re using free fonts from Google Fonts or custom fonts from other sources.

Step-By-Step Guide To Install Fonts On Windows

1. Download The Font File
Start by downloading the font file you wish to install. This can be a .ttf (TrueType Font) or .otf (OpenType Font) file. Websites like Google Fonts offer a variety of free fonts that you can easily download.
2. Access The Fonts Folder
To install a new font, you need to access the Fonts folder on your Windows PC:
- Press Windows + R to open the Run dialogue box.
- Type fonts and hit Enter to open the Fonts window, which shows all installed fonts.
3. Install The Font
You can install the font in one of two ways:
- Drag and Drop: Simply drag the downloaded font file into the Fonts folder.
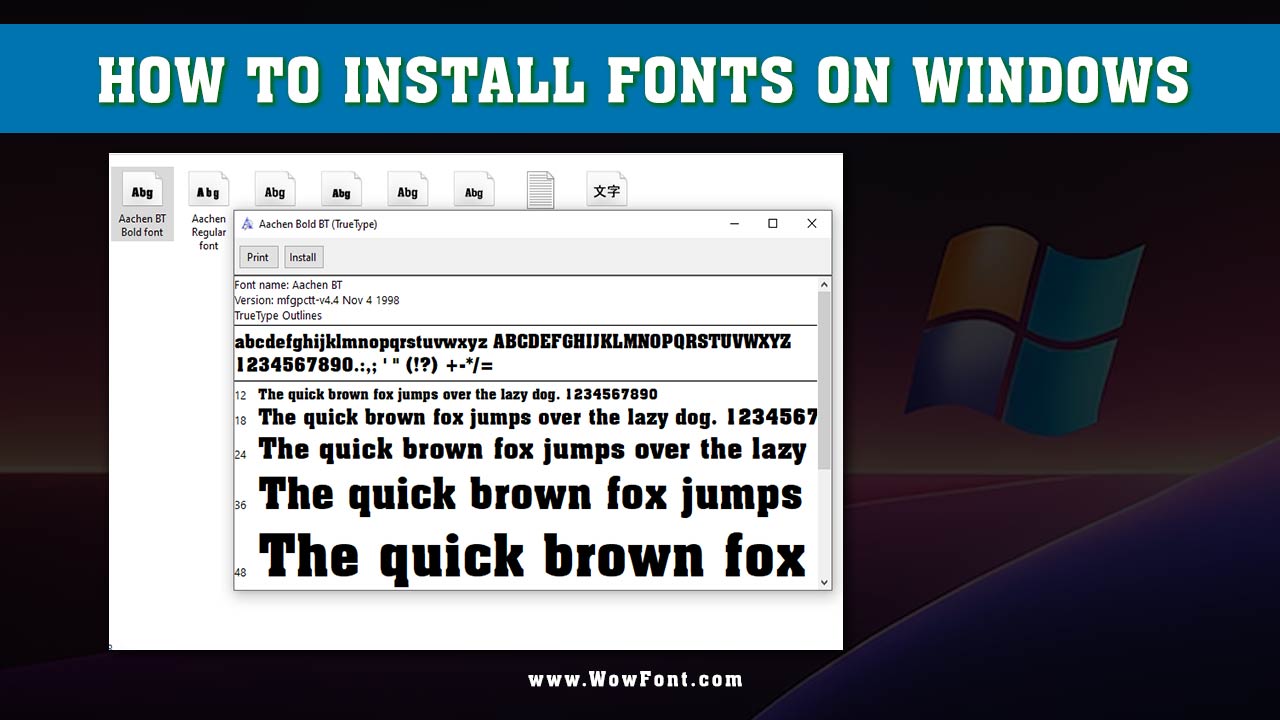
- Right-click and Install: Right-click the font file and select “Install” from the context menu. This action adds the font to your font library.
4. Verify Installation
To check if the font has been successfully installed, open Microsoft Word or any other application that allows font selection. Look for your new font in the font menu.
5. Restart Applications
If you had applications open during the installation, close and reopen them to ensure they recognize the newly installed font.
6. Uninstall Fonts
If you ever need to remove a font, return to the Fonts folder, right-click the font you want to uninstall, and select “Delete.” This will remove it from your system fonts.
Additional Notes
- For Windows settings, you can also manage fonts through the Control Panel by navigating to Appearance and Personalization > Fonts.
- If you’re using older versions of Windows, such as Windows XP or Windows Vista, the installation process remains similar, but the interface may vary slightly.
- For Mac users, the process involves using Font Book instead of the Fonts folder in Windows.
Conclusion
Installing fonts on your Windows computer is a straightforward process that opens up new possibilities for creativity in your documents and designs. By following these steps, you can enhance your font library and improve the aesthetics of your work.
FAQs
1.Can I Install Multiple Fonts At Once?
Yes, you can select multiple font files and drag them into the Fonts folder or right-click and choose “Install” for all selected fonts.
2.Are There Any Risks To Installing Fonts From The Internet?
Always download fonts from trusted sources to avoid malware. Free fonts from reputable sites like Google Fonts are generally safe.
3.How Do I Check If The Font Is Compatible With My Windows Operating System?
Most fonts are compatible with modern Windows versions. If you encounter issues, ensure you’re using the widely supported .ttf or .otf formats.
4.Can I Use Installed Fonts In All Applications?
Generally, yes. Most applications, including Microsoft Office, will recognize newly installed fonts, enhancing your design options.
5.How Do I Fix A Font That Doesn’t Appear After Installation?
If a font isn’t showing up, restart your computer or the specific application. You can also check for any corrupt font files.
6.How Can I Access My Font Library?
You can access your font library through the Fonts folder by typing fonts in the Run dialogue. This window will display all installed fonts.


Leave a Comment