Installing fonts can greatly enhance your creative projects, whether you’re working in graphic design, word processing, or video editing.
In this detailed guide, we’ll explore how to install fonts across various platforms and applications, including Photoshop, Windows 10, Windows 11, and more. We’ll also cover the use of popular font libraries like Adobe Fonts and Google Fonts, along with tips for managing your font collection.

How To Install Fonts On Windows
For Windows 10 Users
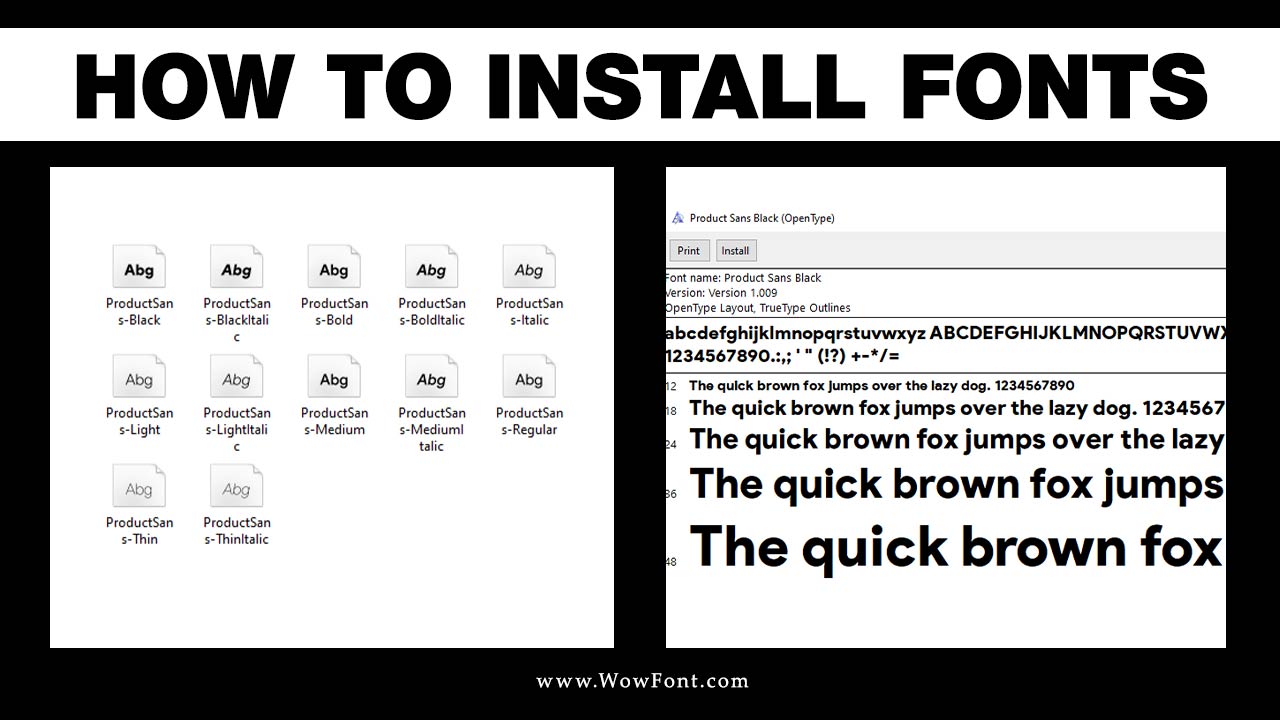
- Download the Font: Begin by downloading your desired font file, typically available in formats like TrueType (.ttf) or OpenType (.otf). Free fonts can be found on sites like Google Fonts or Font Squirrel.
- Open Font Settings: Right-click on the Start menu and select “Settings.” Navigate to “Personalization” and then to “Fonts.” This will open the fonts folder where all installed fonts are displayed.
- Drag and Drop: Simply drag your downloaded font file into the fonts window. It will automatically install, making it available for use across your applications.

For Windows 11 Users
- Download the Font: Ensure you have the font file ready.
- Font Settings: Right-click the Start button, select “Settings,” and navigate to “Personalization” > “Fonts.”
- Install the Font: Drag your font file into the fonts settings to complete the installation. The newly installed font will be available in the font list.
Install Fonts On Mac
- Download the Font: Start by obtaining your font file, similar to the Windows installation process.
- Open Font Book: Use Spotlight search (Command + Space) to find and open “Font Book.” This app acts as your font manager on Mac, allowing you to easily manage installed fonts.
- Add Font: Click on the “+” button in Font Book or simply drag your font file into the app. You can also create collections to keep your fonts organized.
How To Install Fonts In Adobe Applications
- Photoshop
It’s very easy to install fonts in Photoshop. First, follow the earlier steps to ensure the font is installed on your operating system. Then, Launch Photoshop, and your newly installed font should appear in the font menu, allowing you to incorporate it into your designs.
- Illustrator
To install fonts in Illustrator, verify that the font is installed on your operating system. Start Illustrator; your font will be available in the font list, enabling you to use it in your projects.
- Premiere Pro
Check System Installation to install fonts in Premiere pro. First, ensure the font is installed on your computer. Then, Open Premiere Pro. Your font will now be accessible in the font menu while editing, making adding unique styles to your video projects easier.
- Figma
Install the font on your system as described above for using the Figma Desktop App. If you’re using the desktop app, go to “Menu” > “Preferences” > “Fonts” to activate your system fonts. This will allow you to use custom and basic fonts within your designs.
How To Install Fonts In Mobile And Online Apps
How To Install Fonts In Pixellab
- Download the Font: Get the desired font file.
- Open Pixellab: Navigate to the app and look for the option to add custom fonts. This feature allows you to expand your creative possibilities.
- Import the Font: The import option loads your font file into the app.
In Powerpoint
First, ensure the font is installed as outlined previously. Then, open PowerPoint and start it. The new font will be accessible in the font menu, perfect for enhancing your presentations.
For Alight Motion
Download the Font> Obtain your font file. >Open Alight Motion> Go to the text tool and look for the option to add custom fonts. >Import the Font> Load your font file into the app, allowing you to customize your video projects further.
How To Install Fonts In Capcut PC
- Install on System: First, install the font on your PC.
- Open CapCut: Start the application, and your font will be available in the text editing options. This allows for seamless integration of custom typography into your video projects.
Managing Your Fonts
Font Book App
On macOS, the Font Book app serves as an essential tool for managing your installed fonts. It allows you to preview, organize, and validate fonts, making it easier to find the right font for your project. You can also create collections to group similar fonts together.
Font Manager
If you frequently download new fonts, consider using a font manager to keep everything organized. A font manager can help you manage multiple fonts efficiently, ensuring you always have access to the fonts you need without cluttering your fonts folder.
Font Cache
If your new font doesn’t appear in your applications, you may need to clear the font cache or restart the app. This is a common troubleshooting step to ensure that newly installed fonts are recognized.
Conclusion
Installing fonts is a simple yet impactful way to enhance creative projects across various platforms and applications. Whether using Windows, Mac, or specific design software like Photoshop and Illustrator, knowing how to add and manage your fonts can significantly elevate your design aesthetic.
For various options, remember to explore additional font libraries like Google Fonts and Adobe Fonts. With the right fonts, you can express your unique style and effectively communicate your message through design.
FAQs
1.Can I Use Google Fonts In My Applications?
Yes, you can download and install Google Fonts on your system, which will make them available in applications like Photoshop and Illustrator.
2.How Do I Uninstall Fonts On Windows?
Go to the Fonts folder in the Settings, right-click the font you want to remove, and select “Delete.”
3.Are There Free Fonts Available?
Yes, many websites offer free fonts for download, such as Google Fonts and Font Squirrel.
4.Can I Install Multiple Fonts At Once?
Yes, you can select multiple font files and drag them into the font installation window to install them simultaneously.
5.What File Formats Are Fonts Available In?
Common font formats include TrueType (.ttf), OpenType (.otf), and Web Open Font Format (.woff).


Leave a Comment